But she hasn't had clothing protection until now.
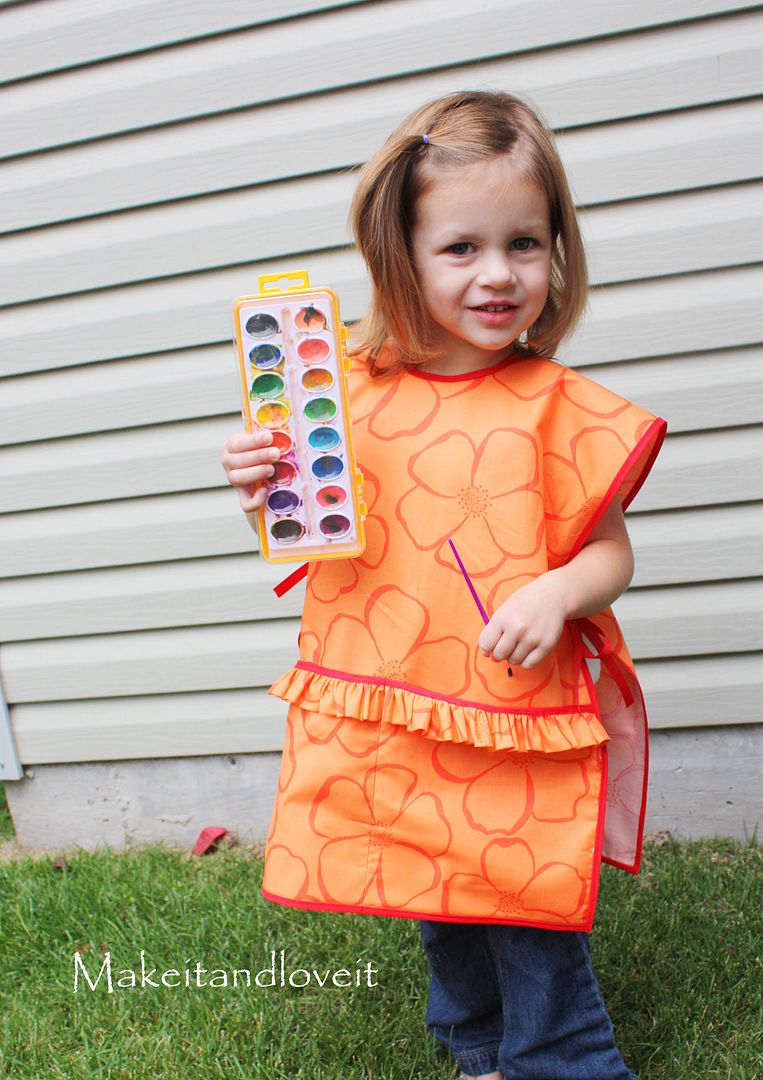
Her own little art smock.
And just the perfect size.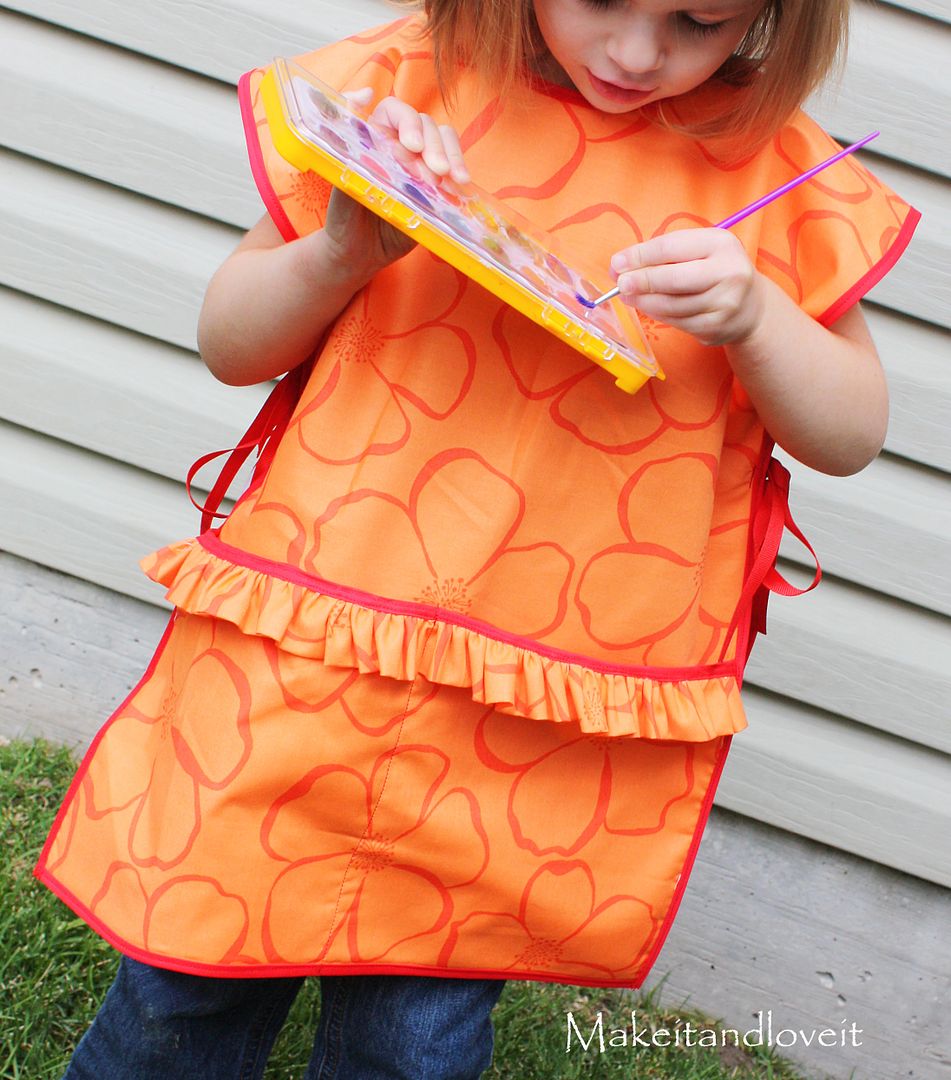
Keep in mind that you can create whatever size you'd like. Even one for you. However, the dimensions given were created for an almost 3 year old.
You'll need:
- a piece of fabric that is 15 x 40 inches (I used cotton)
- a piece of fabric that is 8 x 15 inches
- a piece of fabric that is 3 x 35 inches
- 2 packages of double folded bias tape. (I bought the narrow but I think next time I'd buy one package of narrow and one package of wide. Attaching the bias tape over the riffles turned out hard with the narrow tape.)
- Several feet of narrow ribbon
- 5 inches of wide ribbon
- velcro
Begin by cutting out your large piece of fabric.
Find the center of the fabric by measuring and then trace a large circle right into the center. I used the mouth of a large cup and then added about 1/4 inch to that all the way around.
Cut the circle out and then cut a line down one end of the fabric.....starting at the center of the circle and then cutting down the center of the fabric all the way to the end.
Then, sew that opening closed again, starting at the bottom.......and then stopping about 8 inches from the circle. Use a 1/2 inch seam allowance.
Then roll under those raw edges a 1/4 inch fold and then another 1/4 inch fold. Then sew into place.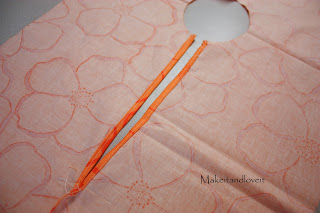
Then make another seam along that first seam towards the bottom, just to reinforce it.
Now, turn over the fabric and make a few stitches and back-stitches right under the end of the opening. Just to keep it strong and from ripping open from being pulled on by a toddler.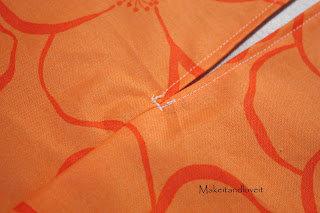
Now cut your 8 x 15 inch rectangle......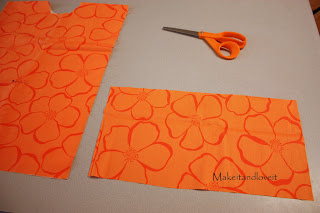
.......and your 3 x 35 inch strip. Fold the strip in half lengthwise and iron flat. (If you're making this for a boy, or prefer to leave off the ruffle......go ahead and do so.)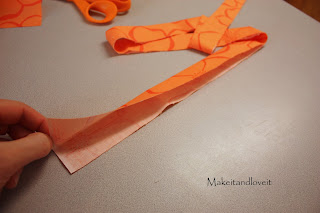
Then sew a basting stitch (really long stitch) along the raw edges, really close to the edge....making sure to never go off the edge of the fabric. And make sure to leave long thread tails.
Then pull one of the top threads and start gathering your fabric.
Then pin it along one of the 15 inch sides of your rectangle.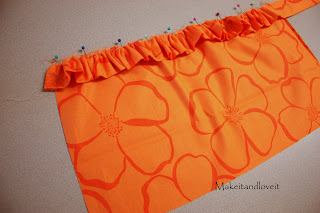
And then place the fold of the bias tap over both layers and sew into place. (This is where I should have used the wider bias tape to make it easier to fit around all of that bulk.)
Then lay it on top of the front side of the art smock, matching up the bottom corners and sides.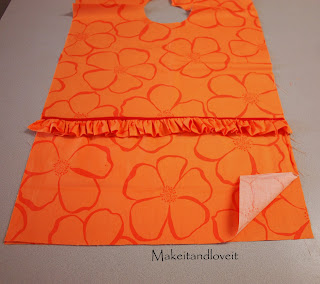
Then sew the bias tape along the bottom front and back....and then along the sides.

Now, attach some bias tape around the neck, sewing slowly as you curve it around the circle. Then sew a seam right down the center of the pocket.....turning that one big pocket into two. Make sure to back-stitch several times at the top and the bottom of that seam.
Now, using your wide piece of ribbon and your Velcro.....attach it to the back of the neck to create a closure.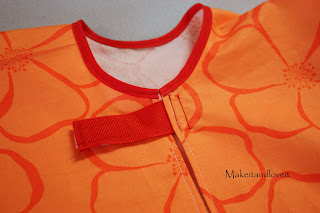

And finally, attach your thin ribbon pieces (about 13 inches each) to the waist area of the smock. I placed mine about 9 inches down from the center of the neck hole.
And that's it. You're ready to give your little one freedom to express their creativity.

