Hi everyone! I'm back! Rested, refreshed, and ready to get back to the business of creating once again.
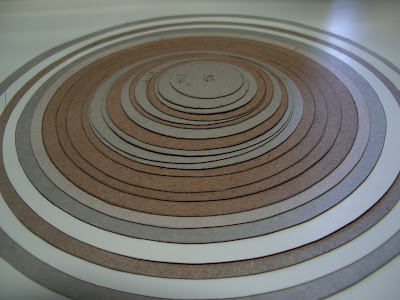
If you've been following my blog, you know how much I rely on cardboard circle templates. I keep a plastic bag filled with as many different sizes as possible. I really don't know what I would do without them.
This project relies heavily on circle templates. You can create your circles using a circle cutting system, a compass, or from items around your house . The kitchen is a great place to look...plates, bowls, and plastic lids all make wonderful templates. Better yet, if you have a circle cutting system meant for cutting fabric, use it instead and skip the cardboard templates altogether.
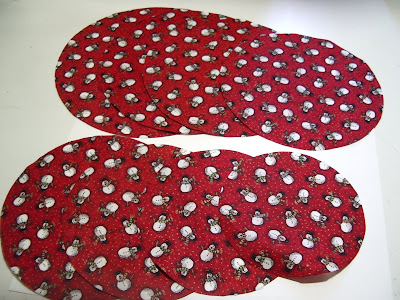
You will start out with 8 circles:
Cut the following sizes from fabric.
8-1/2", 8", 7-1/2", 7", 6-1/2", 6", 5-1/2", 5"
Keeping the circles in descending order will lessen the confusion.
Here is where it gets a bit tricky so we'll take it step by step.
Starting with the 8-1/2" circle: Remove a 4-1/2" circle from it's center. (You will be using some of the center circles for this project, so cut each one out carefully.)
Set the 8-1/2" circle aside. Take the 4-1/2" circle and remove a 2-1/2" circle from it's center. Set the 4-1/2" circle aside. Take the 2-1/2" circle and remove a 1-1/2" circle from it's center. Set the 2-1/2" circle aside and discard the 1-1/2" circle. (When I say discard, I really mean set aside for future project use).
For the 8" circle, remove a 4-1/4" circle from it's center. Set the 8" circle aside and discard the 4-1/4" circle.
For the 7-1/2: circle, remove a 4" circle from it's center. Set the 7-1/2" circle aside. Take the 4" circle and remove a 2-1/4" circle from it's center. Set the 4" circle aside and discard the 2-1/4" circle.
For the 7" circle, remove a 3-3/4" circle from the center. Set the 7" circle aside and discard the 3-3/4" circle.
For the 6-1/2" circle, remove a 3-1/2" circle from it's center. Set the 3-1/2" circle aside. Take the 3-1/2" circle and remove a 2" circle from it's center. Set the 3-1/2" circle aside. Take the 2" circle and remove a 1-1/4" circle from it's center. Set the 2" circle aside and discard the 1-1/4" circle.
For the 6" circle, remove a 3-1/4" circle from it's center. Set the 6" circle aside and discard the 3-1/4" circle.
For the 5-1/2 circle, remove a 3" circle from it's center. Set aside the 5-1/2" circle. Take the 3" circle and remove a 1-3/4" circle from it's center. Set the 3" circle aside. Discard the 1-3/4" circle.
For the 5" circle, remove a 2-3/4" circle from it's center. Set the 5" circle aside. Discard the 2-3/4" circle.
Whew, are you still with me??? Remember, this is simple if you take it one step at a time. I tried my best to utilize most of the center pieces so that there would be minimal fabric waste for this project.
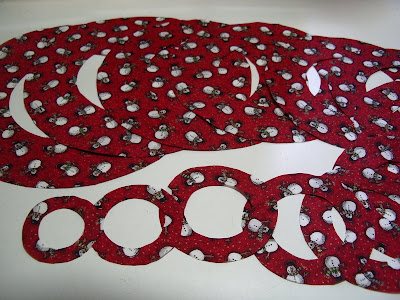
You will end up with 14 donut-shaped pieces in the following sizes:
8-1/2", 8", 7-1/2", 7", 6-1/2", 6", 5-1/2", 5", 4-1/2", 4", 3-1/2", 3", 2-1/2",and 2"
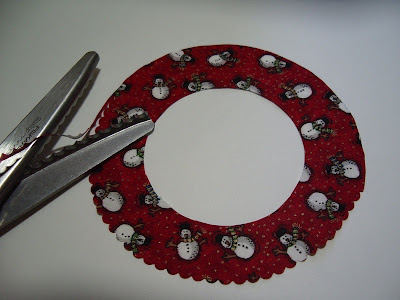
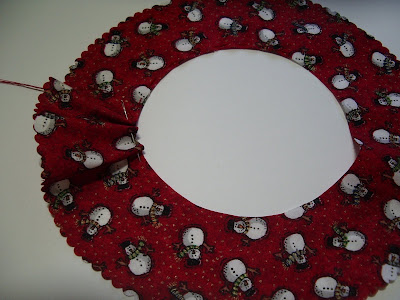
With a scalloped edge scissor, cut around the outside edge of each circle.
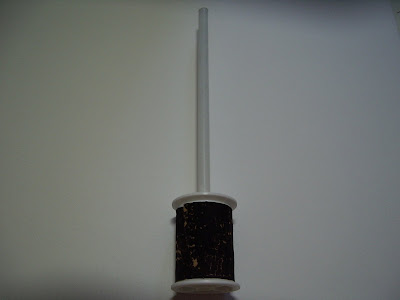
For the base and trunk of the tree, you will need an empty thread spool and a drinking straw. Take a small piece of fabric and glue this around the spool of thread. Glue the drinking straw into the center of the spool of the thread.
Take a running stitch around the center straight edge of the 8-1/2" circle.
Place the gathered circle onto the straw, gather tightly, knot off, and slide it down to the base of the tree.
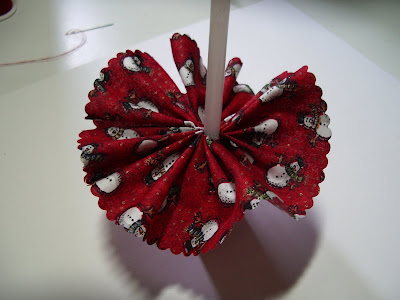
Continue adding gathered circles in descending order.
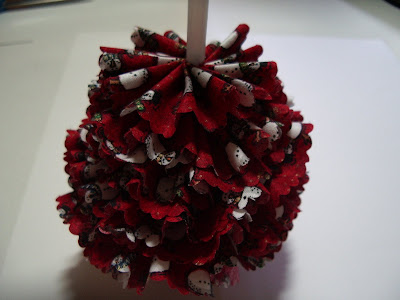
Use a little bit of glue to hold the top piece in place. Clip straw if needed. Glue a decorative button to the tree top.

A view from the top. Scrumptious, ruffly goodness.

I hope you enjoyed this project. Now go on and create a forest of ruffled Christmas trees to call your own!
Have a fabulous day everyone!
http://mousechirpy-polkadotpineapple.blogspot.com/2009/08/ruffled-christmas-tree.html
