http://www.sarahortega.com/2011/05/diy-bird-nest-necklace.html
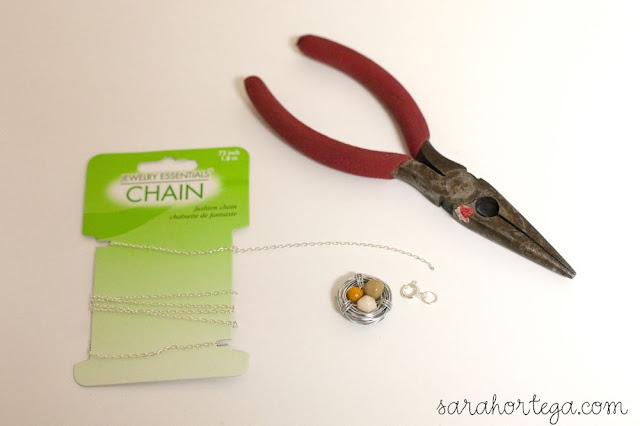
I have been seeing a lot of bird nest jewelry around lately. They are beautiful and I love the trend so I thought I would try making my own. These turned out to be really easy to make and require just a few simple supplies. This necklace would make a lovely Mother's day gift, which just happens to be coming up this weekend!What you'll need:- Jewelry wire (I prefer using a 24 gage because it is easier to manipulate but the 20 gage can work well too with the help of some round nose pliers)- pearls or glass beads- necklace chain- jump ring and a clasp
Select the beads you want, string them onto your wire and arrange them as you'd like.
then simply wrap the wire around the beads
wrap some wire in the space between each bead (I like the look of three loops but you could just do one or two if you prefer)
this is what the back looked like. (In the other necklaces I attached a jump ring but on this one I just formed a loop with the wire.)
now attach a jump ring and a clasp to the end of a necklace chain

just to show you the difference between the 20 and 24 gage...
the two on the right were made with 20 gage wire and on the left is the 24.
The 24 gage is definitely easier to work with and manipulate and I like the delicate look of it but I also like the thicker look of the 20 gage
I think this one is my favorite
**Update: you can now purchase my bird nest necklaces via my online Etsy shop, poppy & pine. Cheers and happy shopping!

