|
|
| Da: timber (Messaggio originale) |
Inviato: 06/01/2018 09:27 |
Diamonds
This "forum style" tutorial was quite easy to do. The plugin filters used are Xero Fritillary, DSB Flux Bright Noise, and MuRa's Meister Copies.
If you don't have one of the plugin filters, you can substitute PSP filters. I have included settings below for a 600x250 canvas using PSP8. If you have a different version of PSP (most likely you do), then your results using these settings may be different.
- For Fritillary, substitute effects/texture effects/mosaic antique (columns=100, rows=50, symmetric unchecked, tile diffusion=70, grout width=1, grout diffusion=50) and then sharpen once or twice instead of using effects/edge effects/enhance.
- For Bright Noise, substitute PSP noise.
- For Copies, substitute effects/reflection effects/pattern (horizontal offset=66, vertical offset=-4, rotation angle=0, scale factor=0, columns=3, rows=13, horizontal shift=0, vertical shift=0).
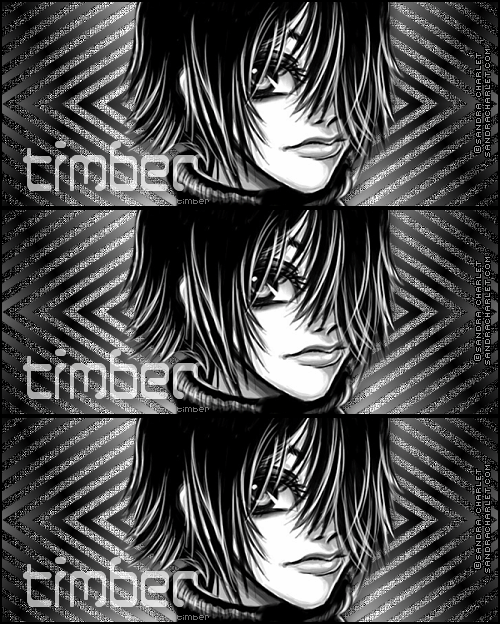
I started with a smaller canvas 500x208.
For the background layer, I set the foreground to a dark color (instead of a light color) and the background to a light color. Then instead of setting the gradient to radial, I set it to linear angle=90.
For the 10 pixel horizontal custom selection I swapped the colors on the gradient, so the foreground color was light and the background color was dark. I made my selection 8 pixels since I used a smaller canvas.
For the diamonds layer I added a drop shadow of 1/1/50/2/black.
For my text, I used a grey color #D2D2D2. At first I lowered the opacity, because I wanted some of the background to show through the text, but the text color was too bland and dark. So I took the opacity back up to 100% and set the blend mode to Hard Light which brightened the text and still allows some of the background to show through. The drop shadow I added is 5/5/50/15/black.
The display time of my animation is 12fps.
The font I used for my text is 12SaruYellowFog and for the image credit I have used Victor's Pixel Font (size 8).
Have fun with this one; I can't wait to see your results. |
|
|
|
 Primo
Primo
 Precedente
2 a 8 di 8
Successivo
 Ultimo

|
|
|
|
Da: timber |
Inviato: 26/01/2018 07:48 |
I hosted this tutorial over at Escape From Reality, and these tags were made  for me  . 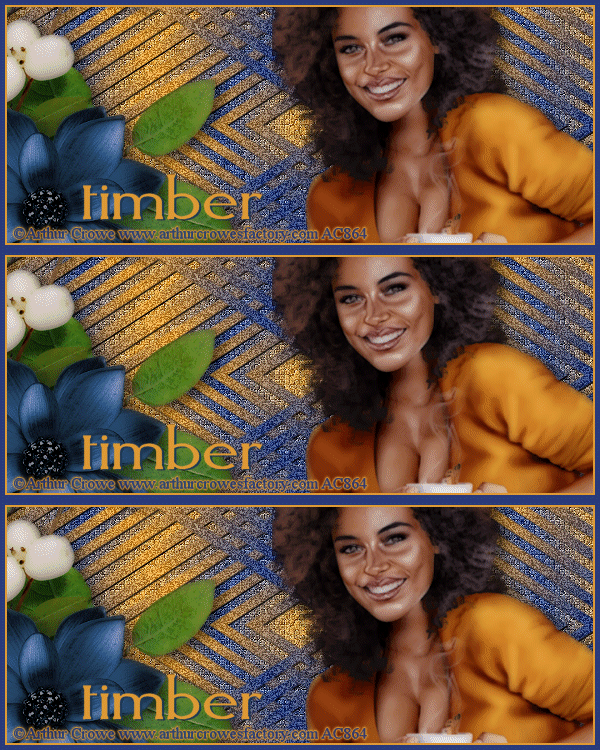 Tagged by Kathyfrances 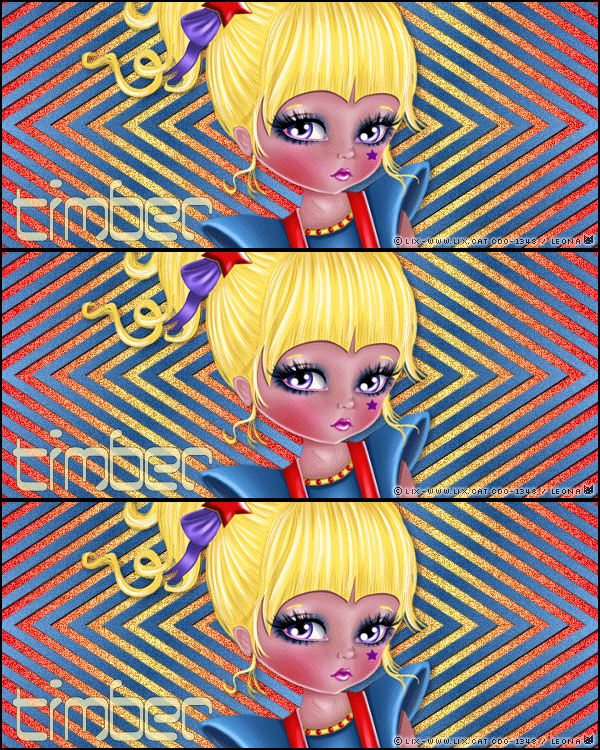 Tagged by Leona 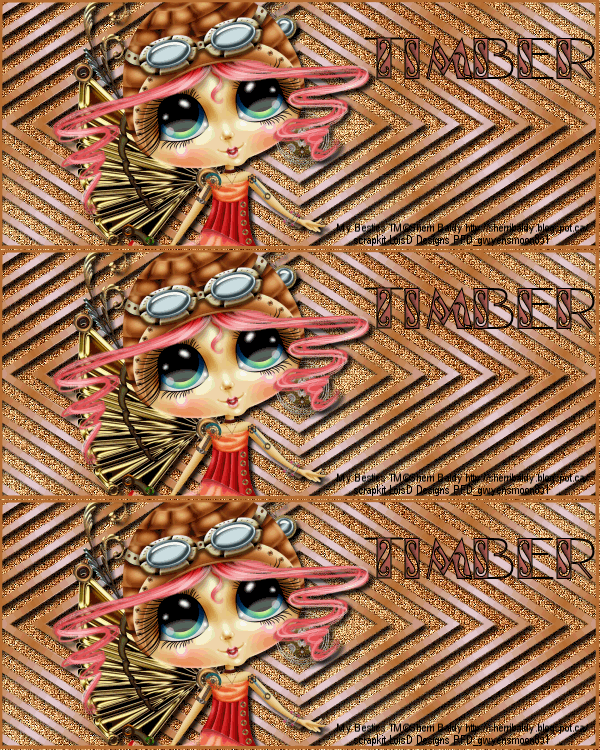 Tagged by Pat |
|
|
|
|
|
Da: justjam |
Inviato: 09/02/2018 04:49 |
I played with this one and had to do it a couple of times. For some reason, I kept missing a step. I think I got it close this last time. 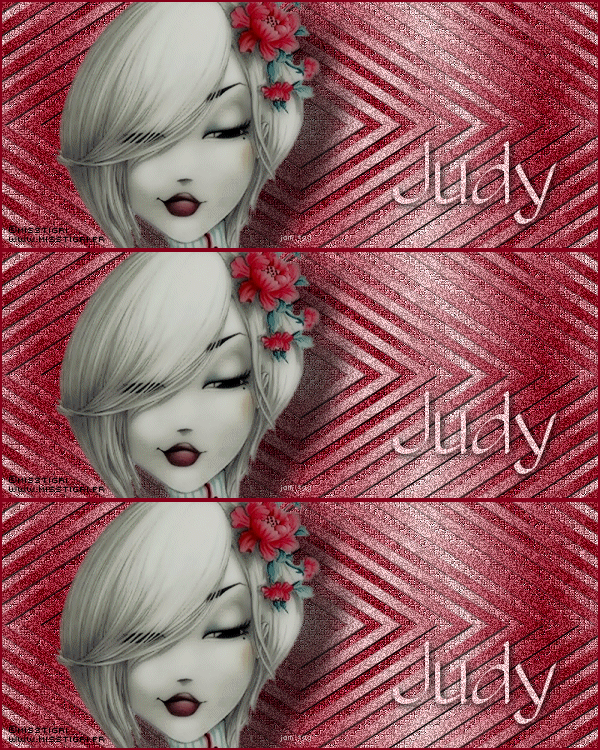 I used the font Olive Oil for my name and I did use the xero porcelaine on the tube. |
|
|
|
|
|
Da: timber |
Inviato: 09/02/2018 22:24 |
|
|
|
Rispondi |
Messaggio 5 di 8 di questo argomento |
|
| Oh my, I totally love the look of this tag design! I am enjoying all of the tags here ;) I just got done finishing mine a while ago and I am excited to share it:
For the gradient fill, I used the colors I had just used earlier this morning for the Candy Corn gradient challenge and did not change it. Funny how I work that way at times lol
Font: heartlove @ 95 pt
Bevel+glass: Timber*s Amazon Southwest settings (used on "diamonds" and name; dup diamond layer and changed to Hard Light, 50% opacity)
Gradient: #FF7318 orange, #FFE205 yellow
Drop shadow on tube: Oliver*s Filters > Halo (default settings). I used this filter because the black hat just looked wider and the black drop shadow did not look good on it. I then added Adjust > Blur > Gaussian Blur 3.00; dup to make it more noticeable.
Tube: Les Tubes de Isa
Border is 4 px, added drop shadow from tut. Then clicked on border layer again and added drop shadow again, this time changing h & v to -#. I did mine in black but later changed it to white by Adjust > Negative. It looks like the white thin border has the sparkles but it is on the black border :)
Because I felt the background was a too bright, I duplicated the tube layer, Mirrored, and Soft Light. It is the dark orange you see to the right.
And I think that is about it :)
|
|
|
|
Rispondi |
Messaggio 6 di 8 di questo argomento |
|
Really great work from all you ladies , I do like this tutorial and will play with it more... Just did this one quick to see if I would have no probs in animating it .. as Karla knows only too well my animating skills are not great ...lol But thank you Karla for all your help.
|
|
|
|
Rispondi |
Messaggio 7 di 8 di questo argomento |
|
That is a sweet tag, Daphne ♥ Great job animating too!
Glad I have been able to help ☺
|
|
|
|
Rispondi |
Messaggio 8 di 8 di questo argomento |
|
Wowsers all these tags in here have been absolutely beautifully done.
|
|
|
 Primo
Primo
 Precedente
2 a 8 de 8
Successivo
 Ultimo

|

